Installation
This guide explains how to install and activate Dran Admin Cleaner (DAC) on your WordPress website.
Before installing DAC, make sure your website meets the system requirements.
Before You Begin
Before installing the plugin, we recommend:
- Make sure you have access to a WordPress Administrator account.
- Create a recent backup of your website.
- Confirm that your WordPress and PHP versions meet the DAC requirements.
Installing and activating DAC does not immediately change the admin experience for your users. Customizations are applied only after you configure and save the relevant settings.
Install from WordPress
From your WordPress admin dashboard, go to:
Plugins → Add Plugin
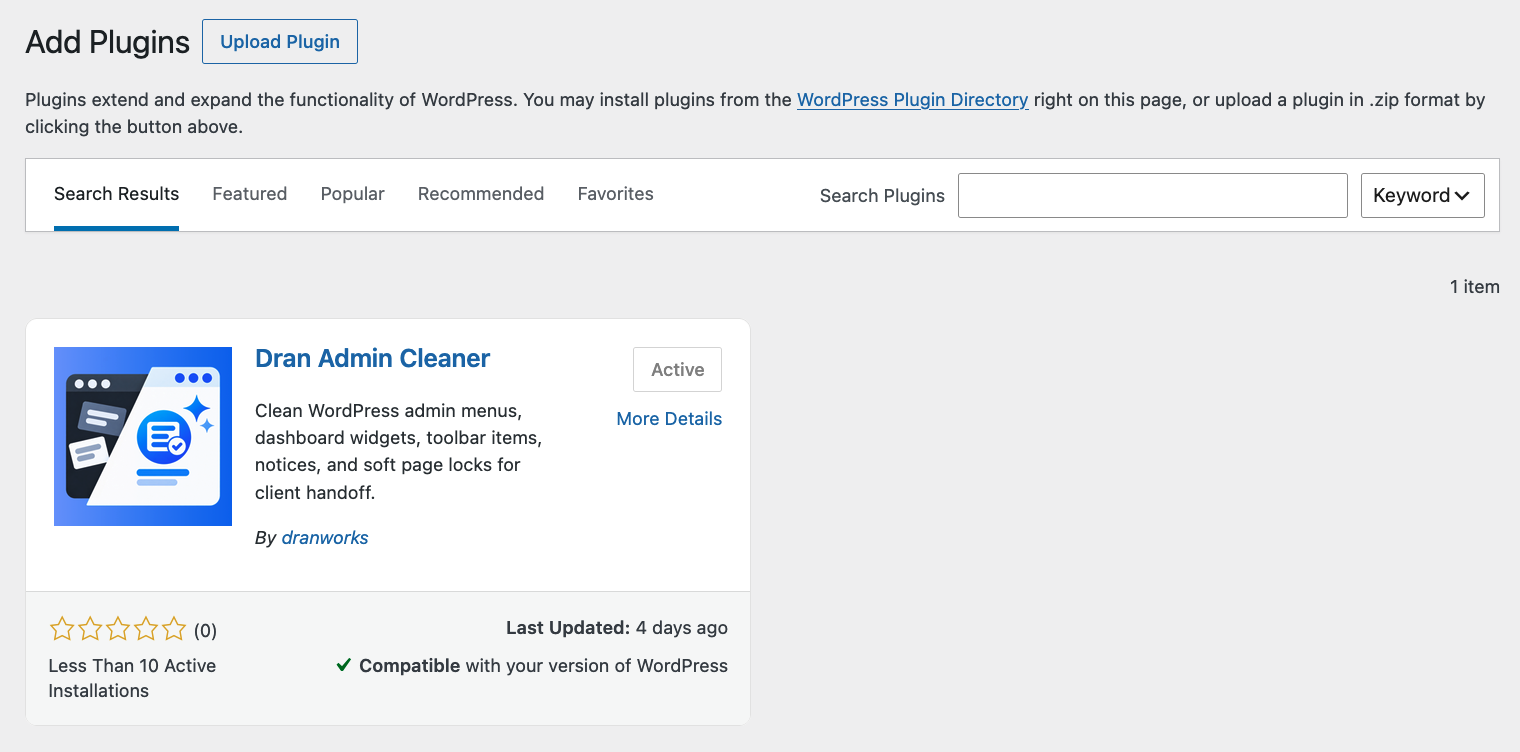
Use the plugin search field to search for:
Dran Admin Cleaner
Locate Dran Admin Cleaner in the search results and click Install Now.
Once the installation is complete, click Activate.
WordPress will activate the plugin and make Dran Admin Cleaner available from the admin menu.
Install Manually
If you already have the Dran Admin Cleaner plugin ZIP file, you can also install it manually.
From your WordPress admin dashboard, go to:
Plugins → Add Plugin → Upload Plugin
Click Choose File and select the Dran Admin Cleaner ZIP file from your computer.
You do not need to extract the ZIP file before uploading it.
Click Install Now, then click Activate Plugin when the installation is complete.
Open Dran Admin Cleaner
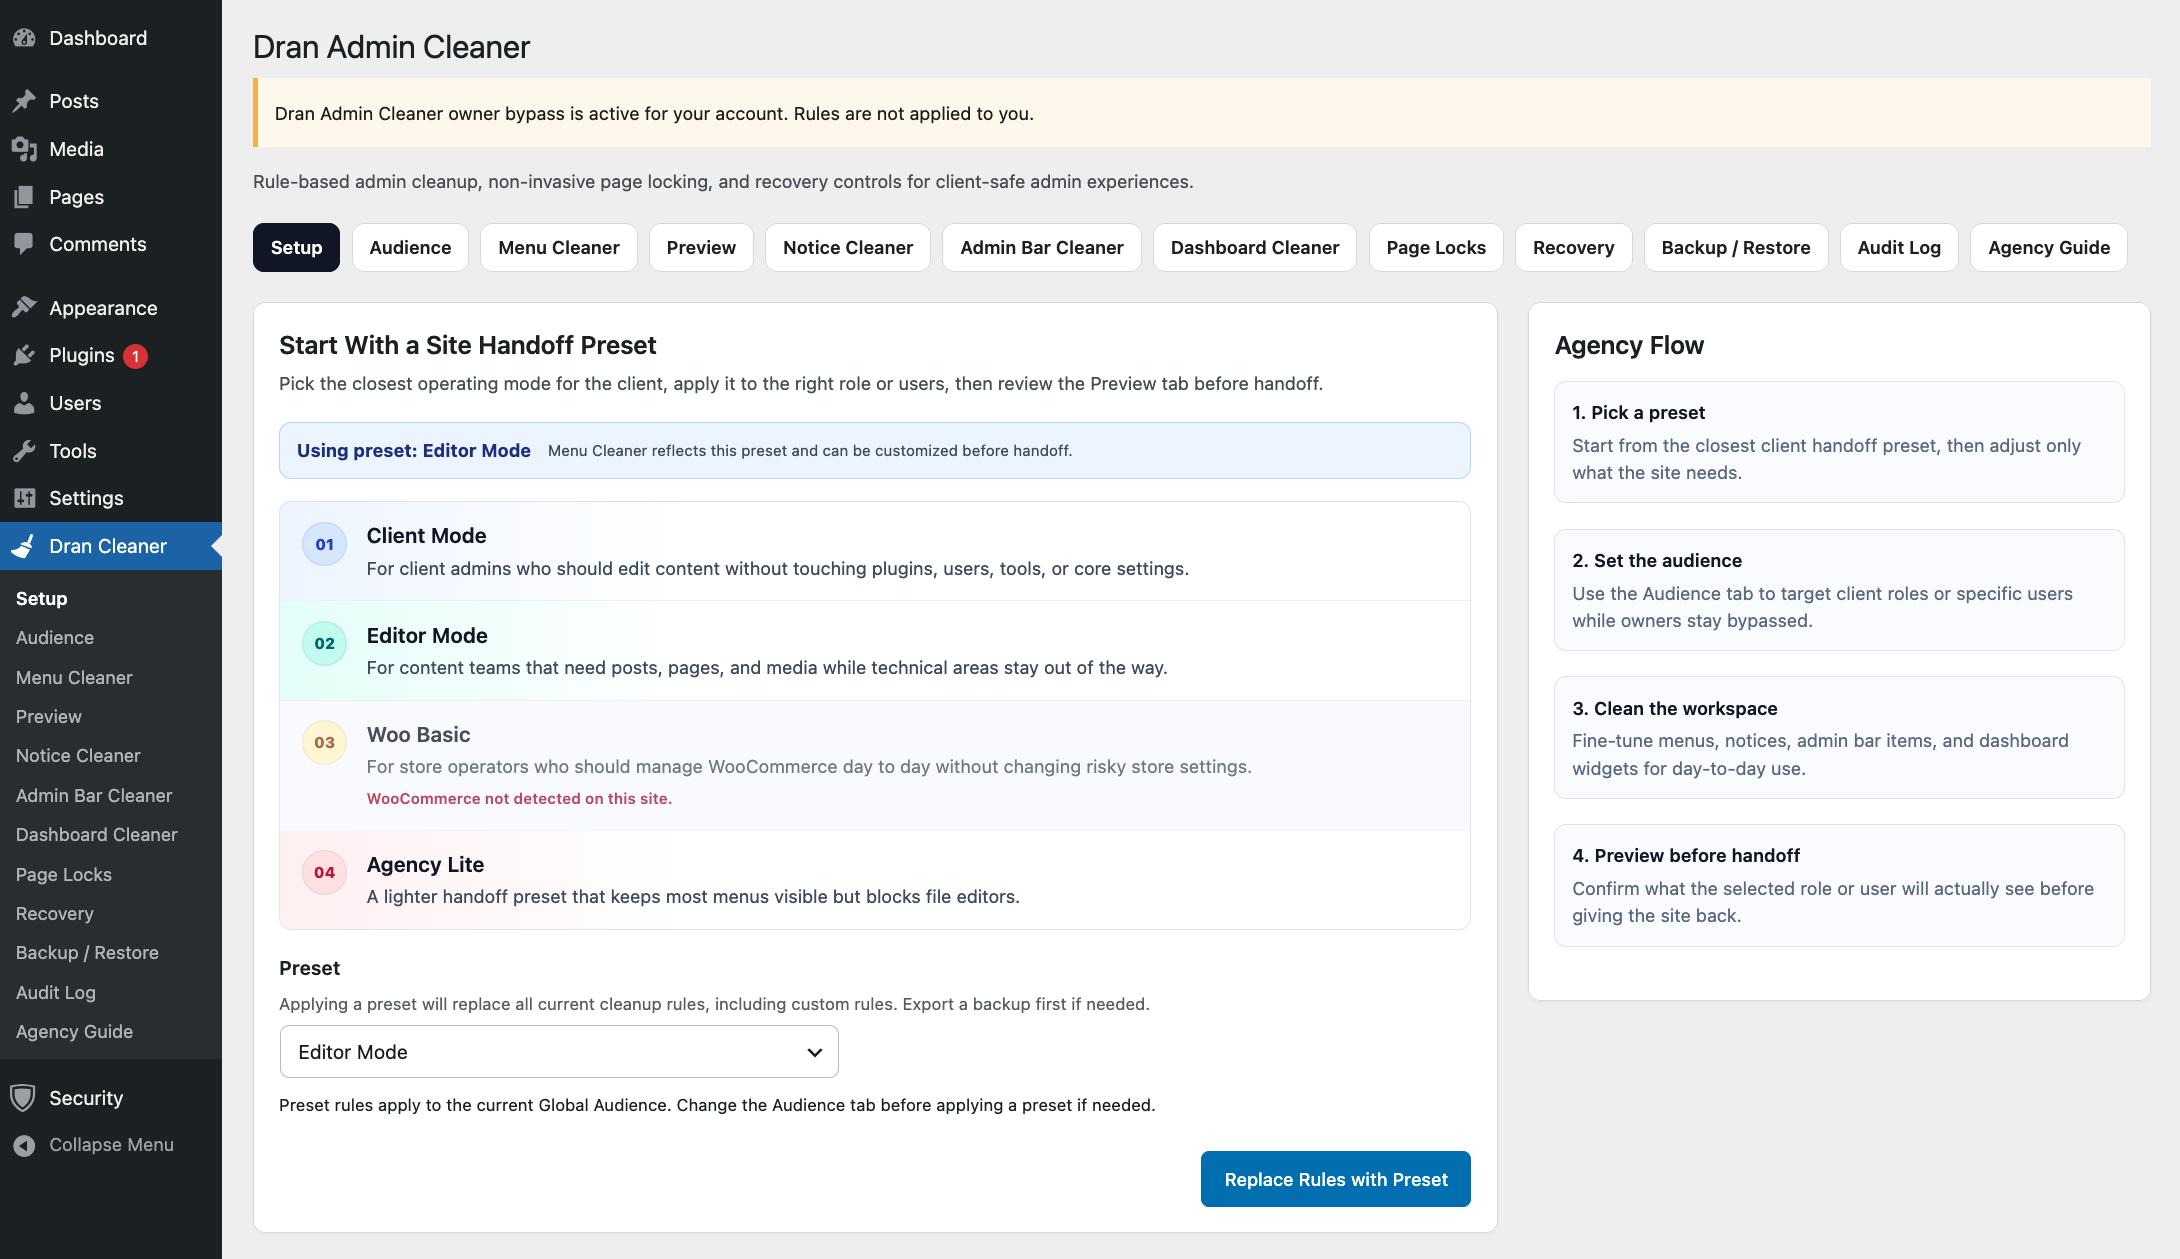
After activation, open Dran Admin Cleaner from the WordPress admin menu.
The DAC interface organizes its configuration tools into separate sections, including menu customization, admin notices, dashboard widgets, admin bar items, and page access controls.
At this point, DAC is installed and ready to configure.
Installing on an Existing Website
DAC can be installed on an existing WordPress website.
Simply installing and activating the plugin does not automatically:
- Hide admin menu items.
- Remove dashboard widgets.
- Hide admin notices.
- Change the admin bar.
- Lock admin pages.
- Apply restrictions to roles or users.
Changes take effect only after you configure and save the corresponding settings.
This allows you to install DAC, review its available options, and prepare your configuration before applying changes to other users.
Updating Dran Admin Cleaner
When a new version of DAC is available through WordPress, you can update it using the standard WordPress plugin update process.
Go to:
Dashboard → Updates
or:
Plugins → Installed Plugins
Then update Dran Admin Cleaner when an update is available.
Your existing DAC configuration is intended to remain in place during normal plugin updates.
As with any WordPress plugin update, maintaining a recent website backup is recommended.
Deactivating and Uninstalling
You can deactivate Dran Admin Cleaner from:
Plugins → Installed Plugins
When DAC is deactivated, its admin customizations are no longer applied.
Deactivation and uninstallation are different actions. If you plan to permanently remove DAC, make sure you no longer need its saved configuration before deleting the plugin.
Next Step
Once DAC is installed and activated, continue to the Quick Start guide.
Quick Start will walk you through the recommended first configuration and show you how to apply DAC safely to your first role or user.