Quick Start
This guide walks you through the recommended workflow for configuring Dran Admin Cleaner (DAC) for the first time.
You do not need to configure every feature immediately. A good first setup is to choose who your configuration applies to, make one small change, preview the result, and confirm that everything behaves as expected.
1. Open Dran Admin Cleaner
From your WordPress admin dashboard, open Dran Admin Cleaner.
DAC provides separate tools for customizing different parts of the WordPress admin experience, including menus, notices, dashboard widgets, the admin bar, and page access.
For your first setup, start with a small change rather than configuring everything at once.
2. Choose Who the Configuration Applies To
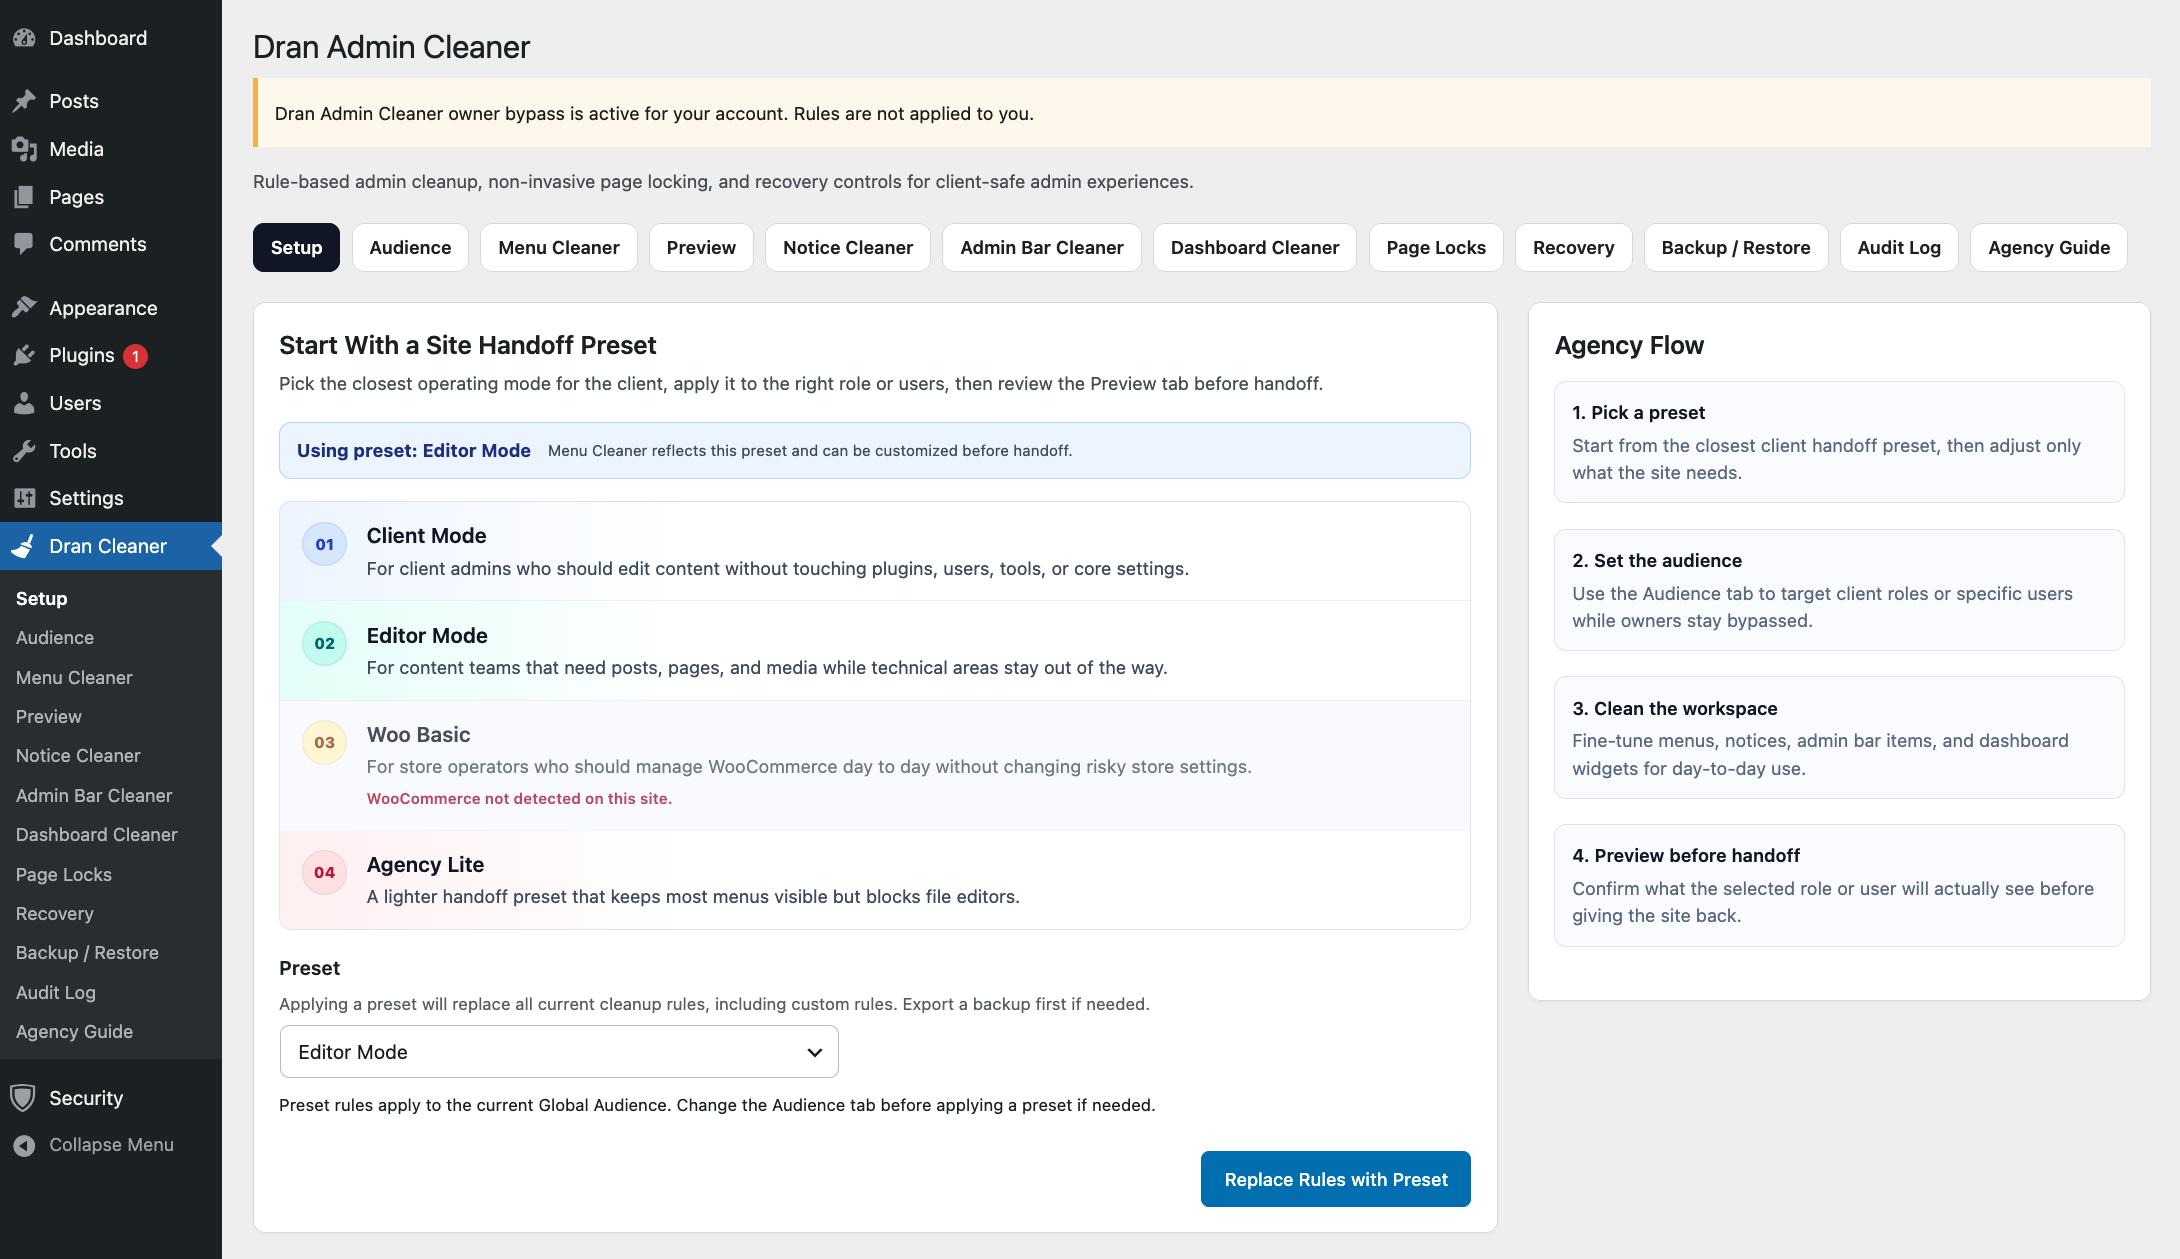
Before making changes, decide which WordPress roles or individual users should receive your DAC configuration.
Open the audience settings and select the roles or users you want DAC to affect.
For example, if you are preparing a website for a client who uses the Editor role, you can apply your configuration to Editors while keeping your own Administrator account unaffected.
Be especially careful when applying configurations to Administrator accounts.
Before doing so, review the Safety & Recovery documentation and make sure you understand how to regain access if a configuration causes an unexpected result.
3. Make Your First Menu Change
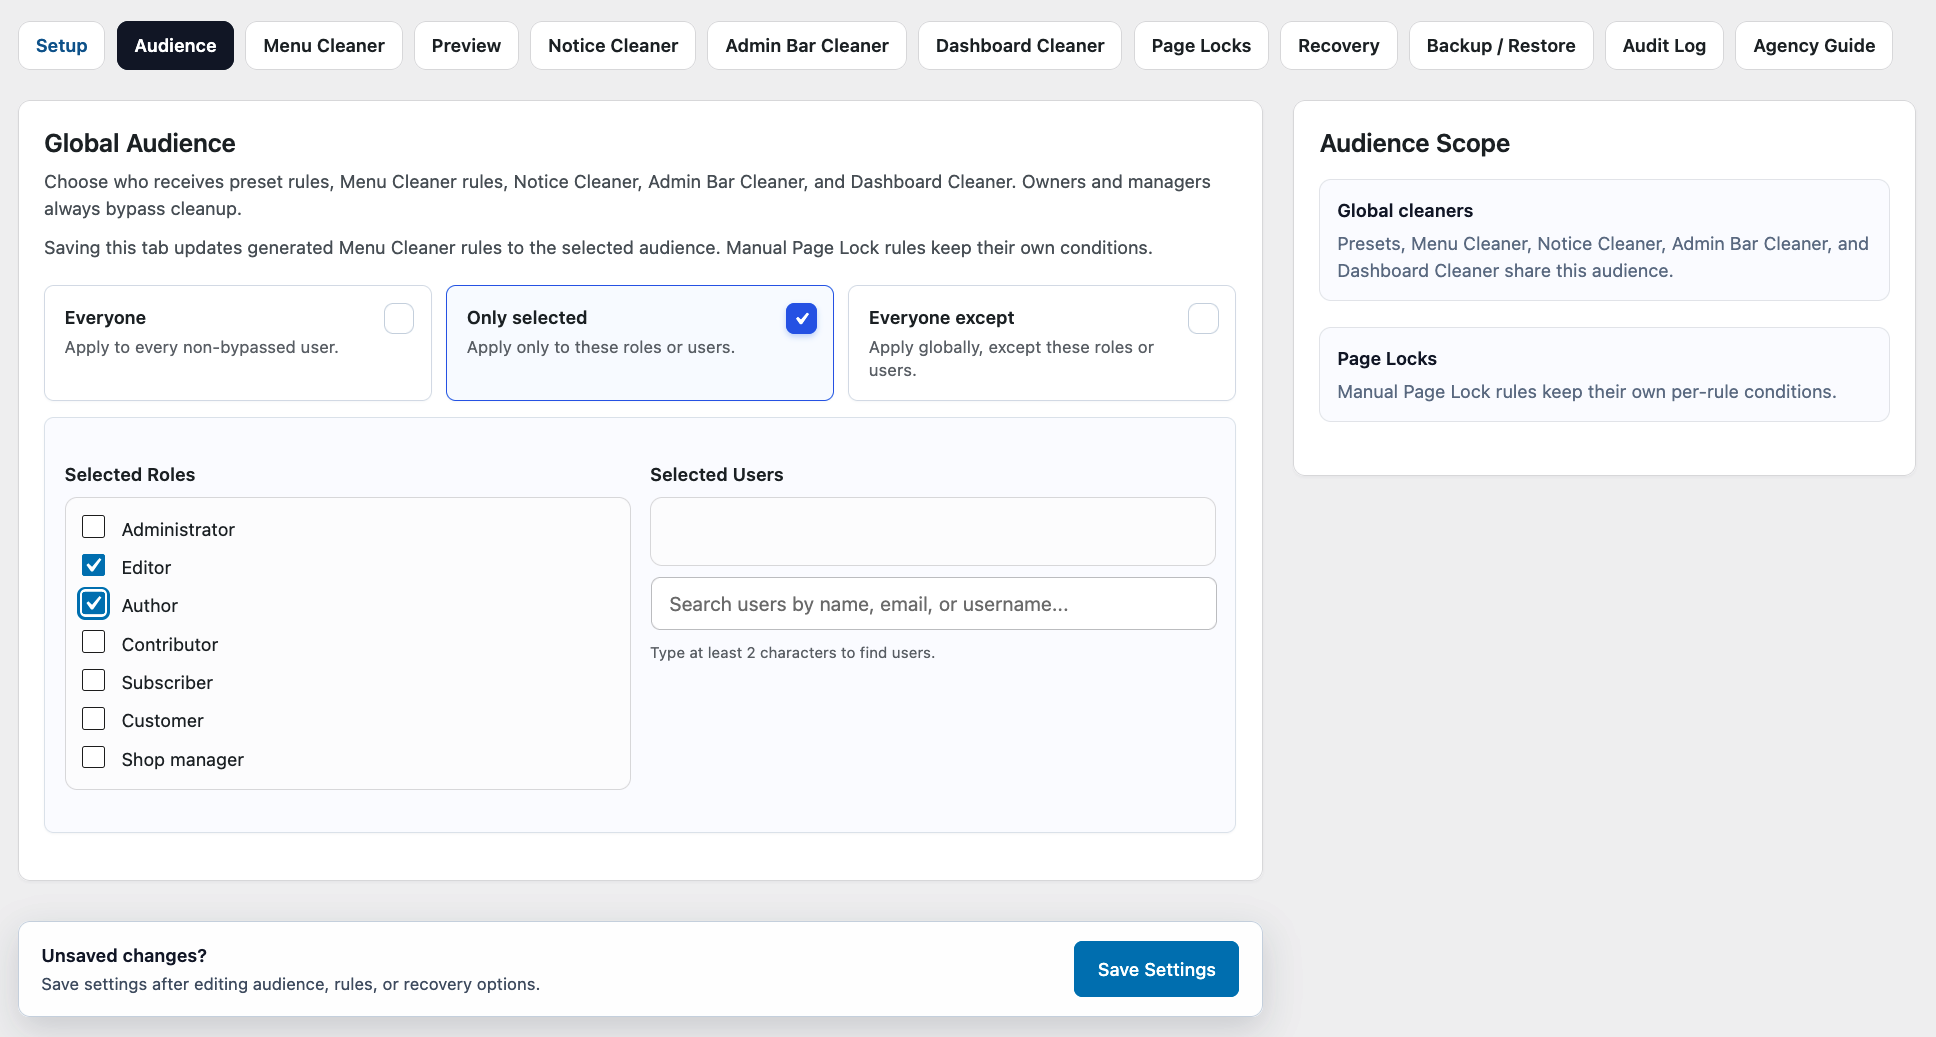
A simple way to test DAC is to hide one admin menu item that your selected users do not need.
Open Menu Cleaner, find a non-critical menu item, and hide it.
Save your changes.
Start with something easy to verify so you can clearly see whether the configuration is working as expected.
Remember that hiding a menu item only changes its visibility in the admin interface.
It does not remove the user's WordPress capabilities and does not necessarily prevent direct access to the underlying admin page.
If you need to restrict access to a page, use Page Locks instead.
4. Preview the Result
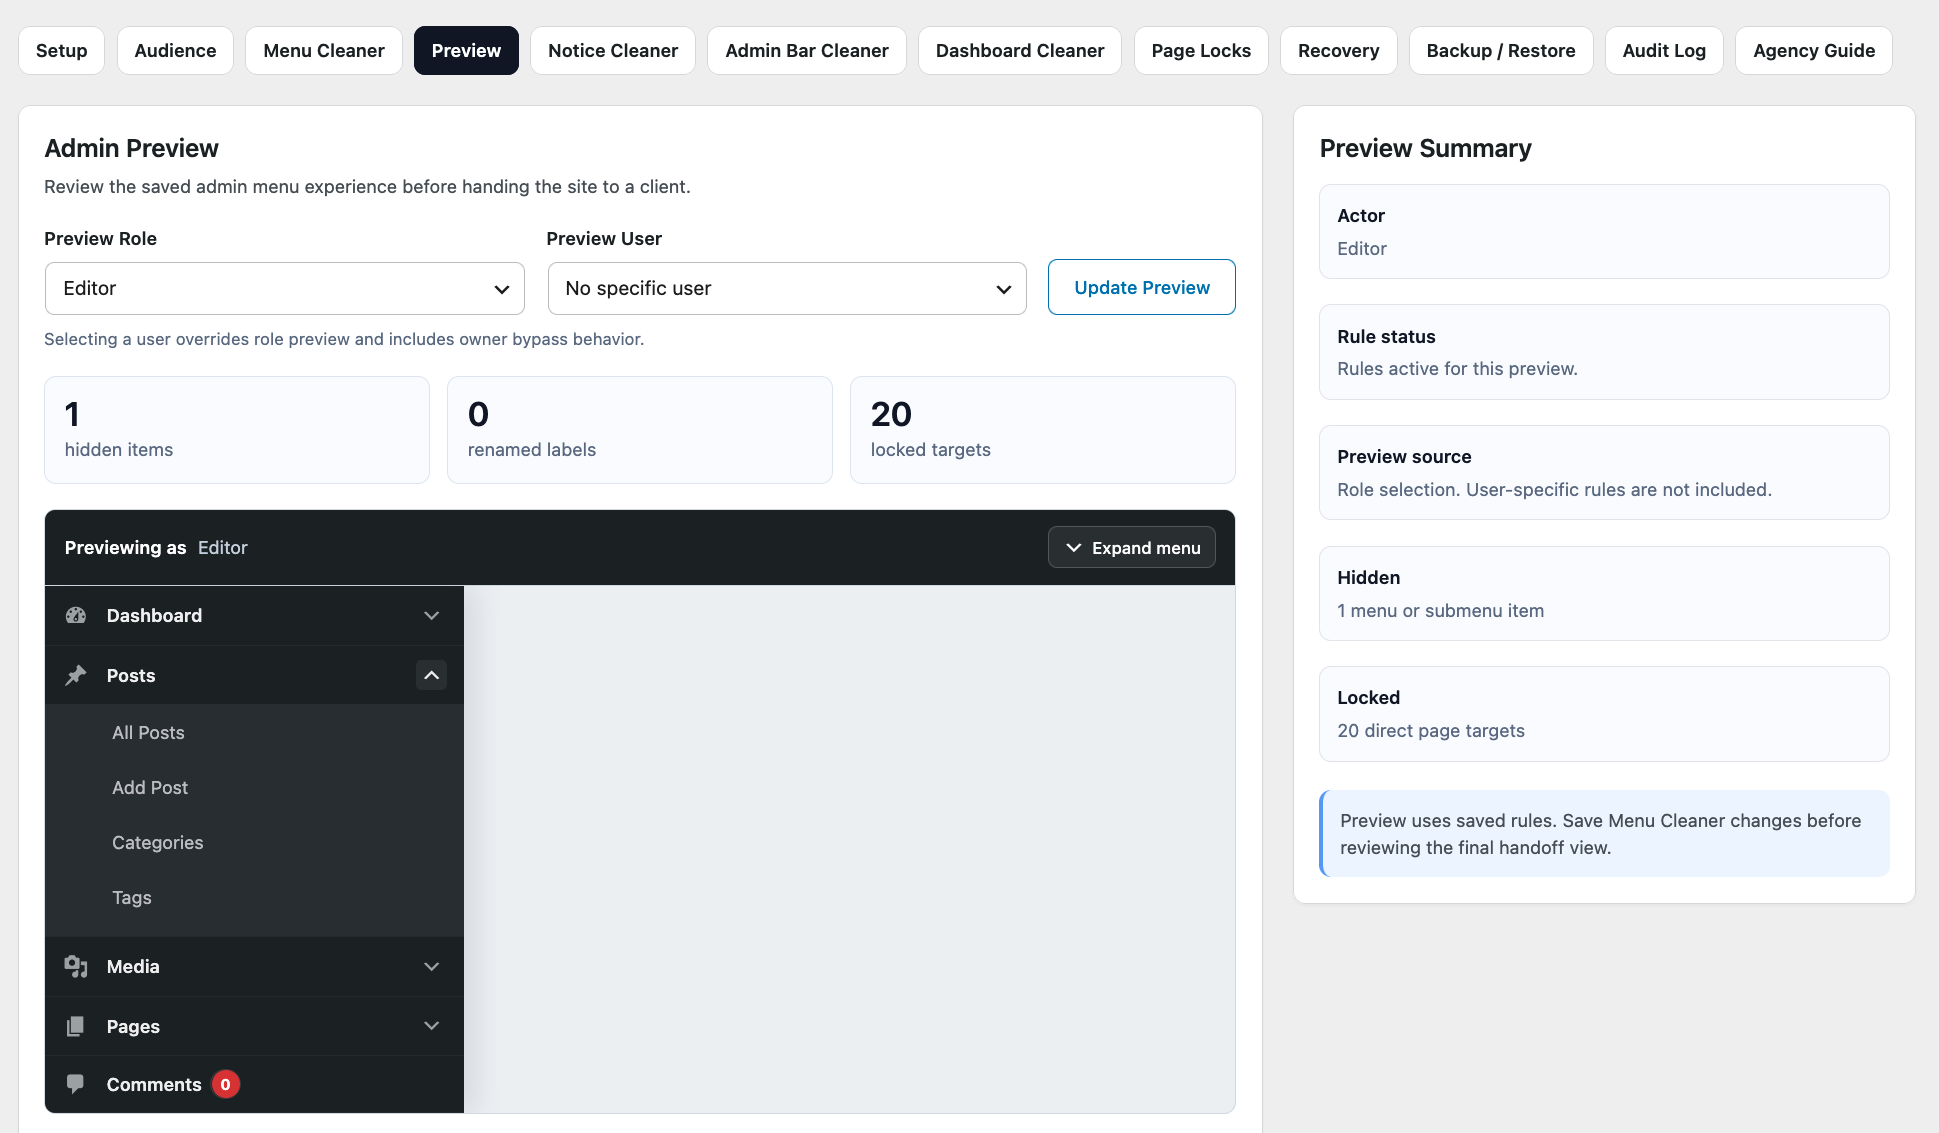
After saving your configuration, use Preview to inspect how the WordPress admin area will appear to a selected role.
Choose the role you want to preview and check that:
- Required menu items are still available.
- Hidden items are no longer visible.
- The admin navigation remains easy to understand.
- Users can still reach the areas they need for their work.
Preview is useful for checking the overall admin experience before applying a configuration more broadly.
For important workflows, we still recommend testing with an appropriate user account before handing over a production website.
5. Add Page Locks When Access Must Be Restricted
If hiding a menu item is not enough and a selected admin page must not be accessible directly, configure a Page Lock.
Menu Cleaner and Page Locks solve different problems:
- Menu Cleaner controls what users see in the admin navigation.
- Page Locks restrict access to selected admin pages.
Do not add Page Locks simply because a menu item is hidden.
Use them only when access to the underlying page actually needs to be restricted.
6. Review Safety & Recovery
Before applying a larger configuration, review DAC's safety and recovery features.
DAC includes mechanisms such as:
- Owner Bypass
- Recovery Mode
- Safe Mode
These features are designed to reduce the risk of locking yourself out while configuring the admin area.
Make sure you understand how each recovery option works before applying significant restrictions to Administrator accounts.
Keep any required recovery information somewhere you can access even if you cannot use the normal WordPress admin interface.
7. Expand Your Configuration Gradually
Once your first change works correctly, continue customizing only the parts of the WordPress admin that need attention.
Depending on the website, you may want to use:
- Menu Cleaner to simplify admin navigation.
- Notice Cleaner to reduce unnecessary admin notices.
- Dashboard Cleaner to remove unwanted dashboard widgets.
- Admin Bar Cleaner to simplify the WordPress toolbar.
- Page Locks to restrict access to selected admin pages.
You do not need to use every DAC feature.
A smaller configuration that clearly improves the client experience is usually better than hiding or restricting everything simply because you can.
8. Back Up Your Configuration
After you have created and tested a configuration you are comfortable with, create a backup of your DAC settings.
This gives you a known working configuration that you can restore later if necessary.
You can also export configurations when you need to keep a copy outside the current WordPress installation or reuse compatible settings elsewhere.
See Backup & Restore for detailed instructions.
A Simple First Setup
For your first DAC configuration, the recommended workflow is:
- Select the roles or users the configuration should apply to.
- Hide one unnecessary menu item.
- Save the configuration.
- Preview the selected role.
- Add Page Locks only where access restriction is actually required.
- Review the available safety and recovery options.
- Test important workflows with an appropriate user account.
- Back up the working configuration.
Once you are comfortable with this workflow, continue to the Features documentation to learn how each DAC tool works in detail.